ANY-maze Help > The ANY-maze reference > The Tests page > Adjusting the apparatus layout
Adjusting the apparatus layout
![]()
Introduction
The right-hand side of the Tests page displays the video pictures of the apparatus that tests are being performed in. If you just have a single piece of apparatus then the video picture will usually fit comfortably into this area, but if you have a couple of apparatus, they will probably be a bit squashed; and if you have more than that, the video pictures probably won't be large enough to show the entire apparatus.
In fact, the tracking is unaffected by the fact that you can't see the entire apparatus (and ANY-maze will also automatically pan the video picture during a test so the animal is always shown), but nevertheless, not being able to see the entire apparatus can be awkward and can make it harder to score behaviours using keys.
There are, however, various ways you can address these issues: you can scale the video pictures, so they'll always fit inside the space available; you can reorganise the way the video pictures are arranged, for example, putting them all into a single row, and then simply scroll the row side to side to see the different apparatus; or you can show little thumbnails of all the apparatus and then choose those you want to view by selecting the thumbnails. And you can combine these features in any way that suits you.
Important: None of the options described here affects the tracking, they just alter how the apparatus video pictures are displayed and not how the animals are actually tracked.
| • | Scaling the apparatus images so they fit the space available |
| • | Arranging the apparatus into rows or columns |
| • | Using thumbnails to select apparatus to view |
Scaling the apparatus images so they fit the space available
Usually, when the video picture of some apparatus won't fit within the space available on the tests page, ANY-maze simply crops the picture - as in figure 1, below.
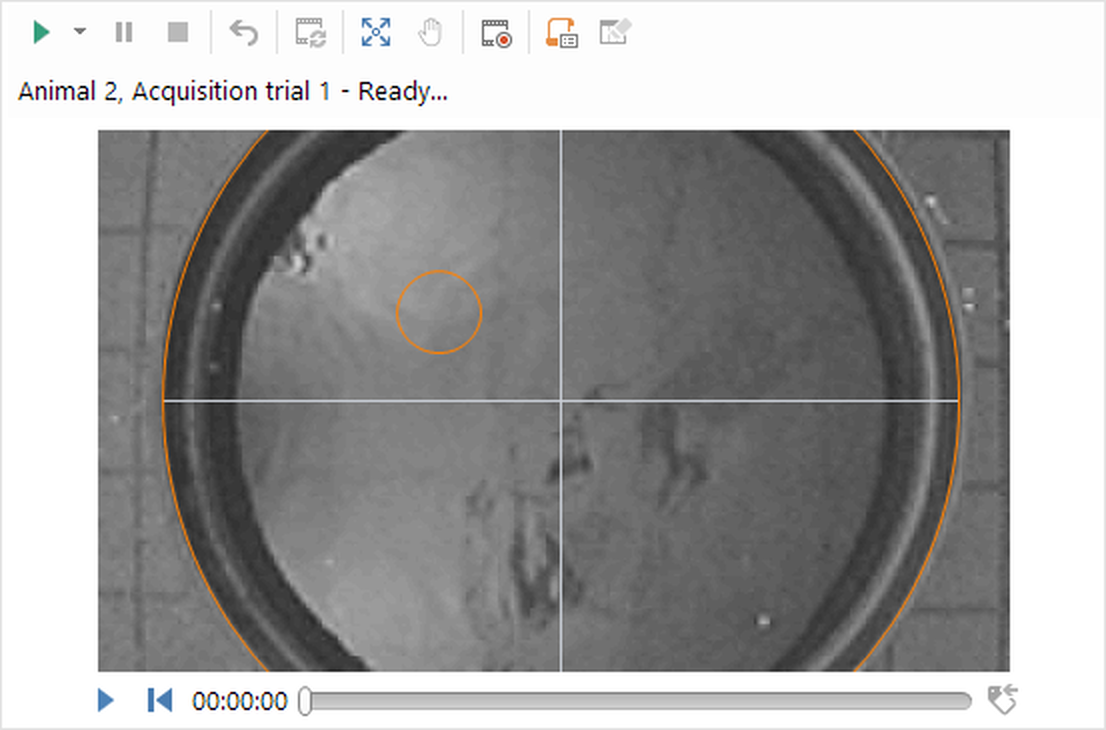
Figure 1. The video picture of the apparatus does not fit in the space available, so ANY-maze has simply cropped it.
Although it looks as if the animal will be invisible it if swims to the top or bottom of the maze, what actually happens is that ANY-maze will pan the image so that the animal is always visible. Nevertheless, it would still better if you could see the entire apparatus and this is what the Scale to fit option does - see figure 2.
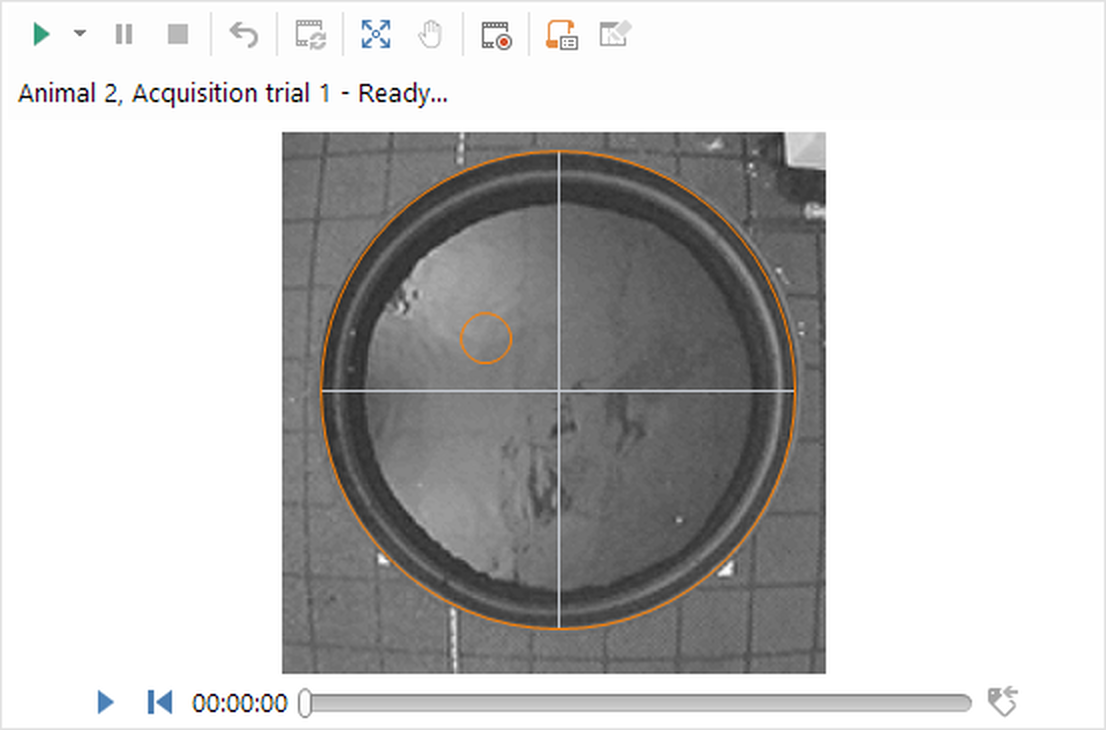
Figure 2. Here the video picture has been resized to exactly fit the space available - what ANY-maze calls 'Scale to fit'.
To scale the view in this way you just need to select the ![]() Scale to fit button in the ribbon bar. This will cause all the apparatus video pictures on the Tests page to be scaled.
Scale to fit button in the ribbon bar. This will cause all the apparatus video pictures on the Tests page to be scaled.
Arranging the apparatus into rows or columns
When your protocol includes multiple apparatus, ANY-maze will, by default, Tile the video pictures within the overall space available - see figure 3.

Figure 3. Eight open fields laid out using the default 'tiled' option. Here, the pictures have been scaled to fit, but they're almost too small to be usable.
When you just have a two or three apparatus, tiling in this way is usually fine, especially if combined with the Scale to fit option described above. However, with larger numbers of apparatus, and/or with a small screen, this can become unsatisfactory, ss is the case in figure 3.
To address this you can choose to reorganise way the video pictures are laid out, by placing them into a fixed number of rows or columns. In this case the video pictures will be as tall as the rows (or as wide as the columns) and you will probably need to scroll the rows side to side (or up and down, for columns) in order to see all the apparatus - see figure 4 and 5.
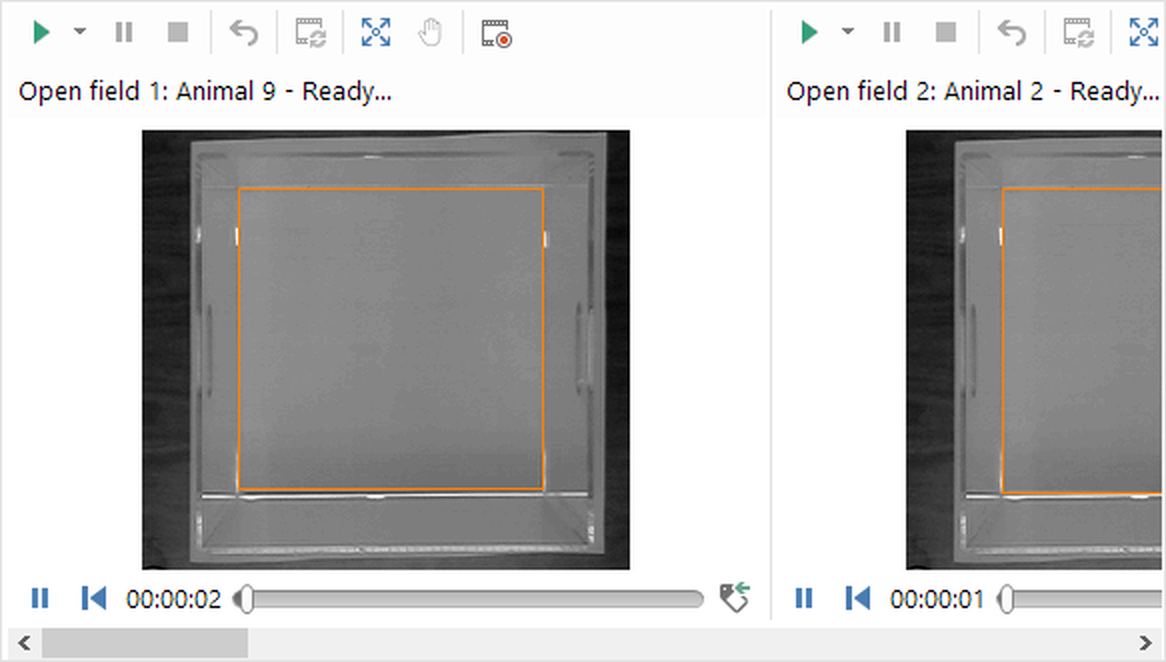
Figure 4. Here the same eight open fields shown in figure 3, have been laid out in a single row. Note the scroll bar at the bottom - to see the other apparatus you would need to scroll side-to-side.
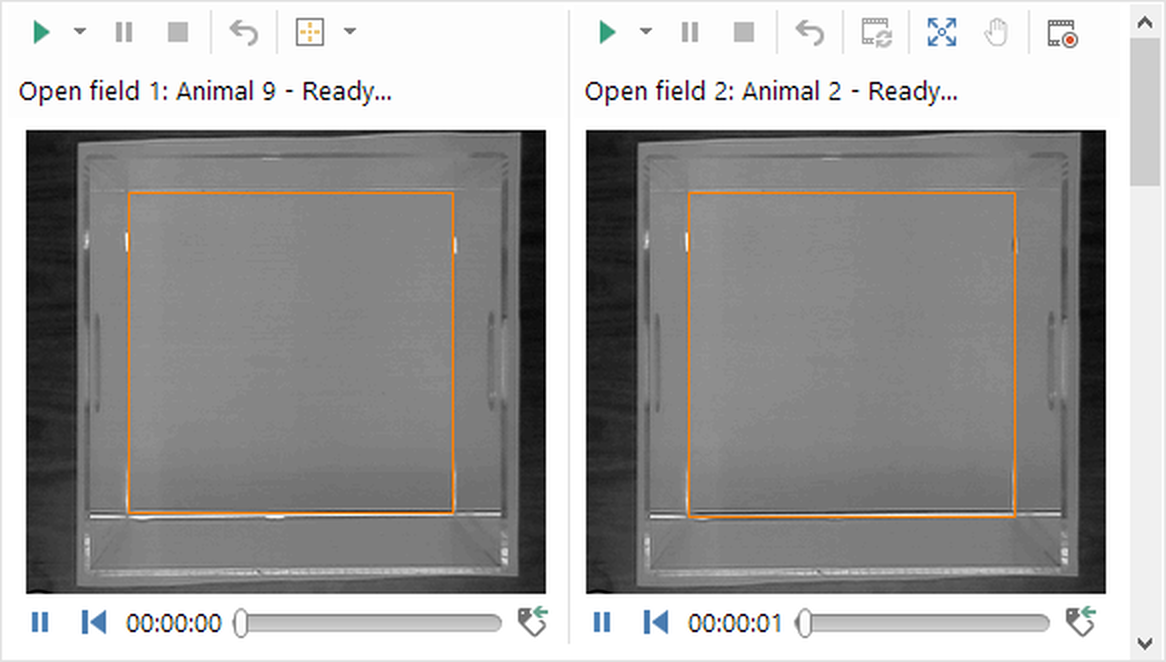
Figure 5. Here the same apparatus have been laid out in two columns. Note that this time there is a scroll bar at the side, so to see the other apparatus you would need to scroll up-and-down.
Clearly the advantage here is that the apparatus video picture is a good size, but the disadvantage is that you can't see them all, so you have to scroll. By the way, whether or not you can see the apparatus, ANY-maze will still track in it.
To arrange the apparatus in rows or columns you simply need to select ![]() Rows or
Rows or ![]() Columns button in the ribbon bar and then choose the appropriate number of rows or columns from the menu which appears. To return to the default Tiled view, you should select the
Columns button in the ribbon bar and then choose the appropriate number of rows or columns from the menu which appears. To return to the default Tiled view, you should select the ![]() Tile button. Remember you can combine rows and columns with the scale to fit option, if you want to.
Tile button. Remember you can combine rows and columns with the scale to fit option, if you want to.
Using thumbnails to select apparatus to view
When working with large numbers of apparatus you may find it useful to include thumbnails on the Tests page - see figure 6.
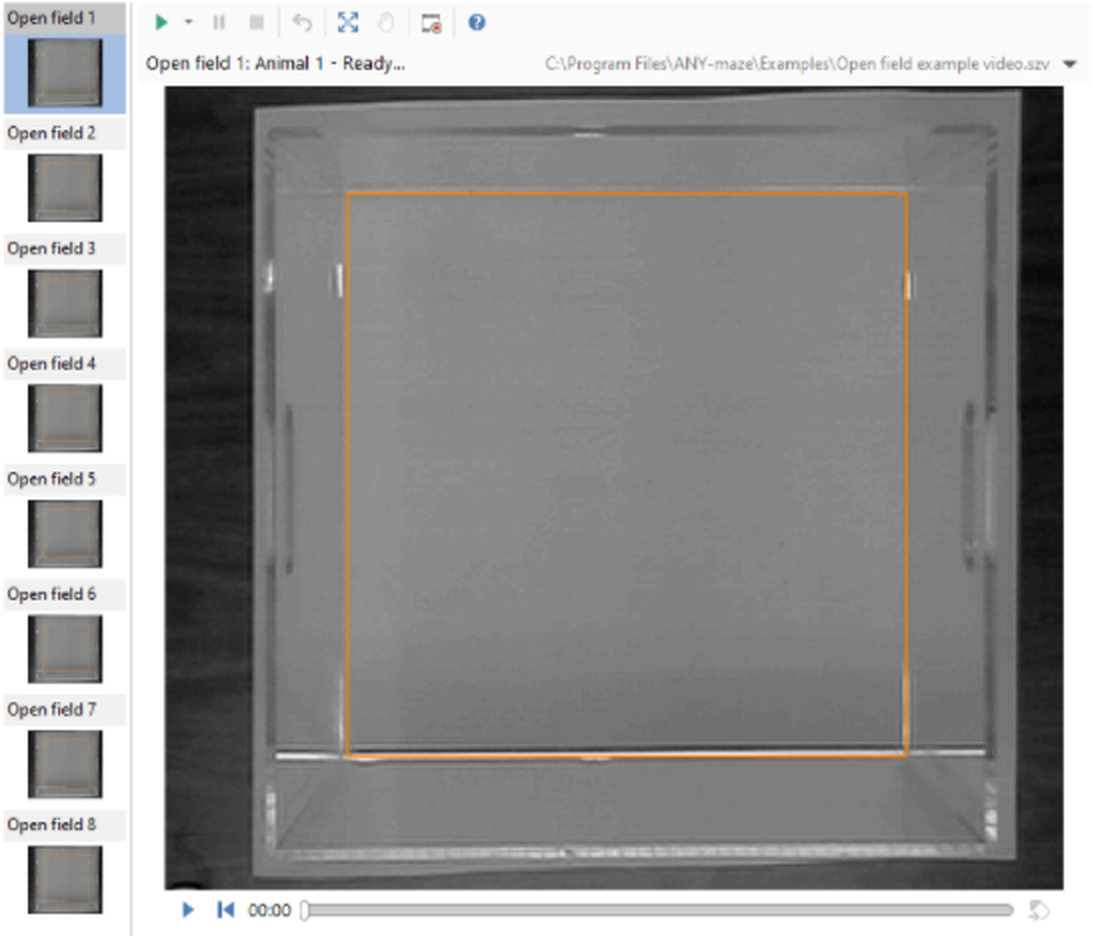
Figure 6. Here the same eight apparatus as in figures 3, 4 and 5 are shown as thumbnails. In this example just the apparatus 'Open field 1' has been selected to be displayed.
There are two options for thumbnails: single-select and multi-select. Single-select always shows just one piece of apparatus, and you select which one it is by clicking the relevant thumbnail image - this is the option being used in figure 6. Multi-select allows you to show more than one apparatus at the same time, with the apparatus being laid out using tiles, rows or columns, as described above. In either case you can use the scale to fit option too.
To show thumbnails, you should click the ![]() Thumbnails button in the ribbon bar and then choose either Single-select or Multi-select from the menu which appears. To remove the thumbnails select the No thumbnails option from the same menu.
Thumbnails button in the ribbon bar and then choose either Single-select or Multi-select from the menu which appears. To remove the thumbnails select the No thumbnails option from the same menu.
Remember, whether or not a piece of apparatus is currently displayed, makes no difference to the tracking - so in figure 6, all eight apparatus can be tracking even though we're currently only looking at one of them.
![]()
© Copyright 2003-2026 Stoelting Co. All rights reserved
ANY-maze help topic T0825